![]()
IN STOCK
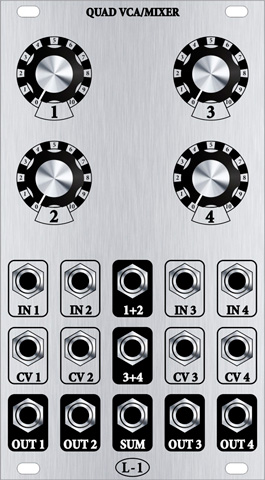
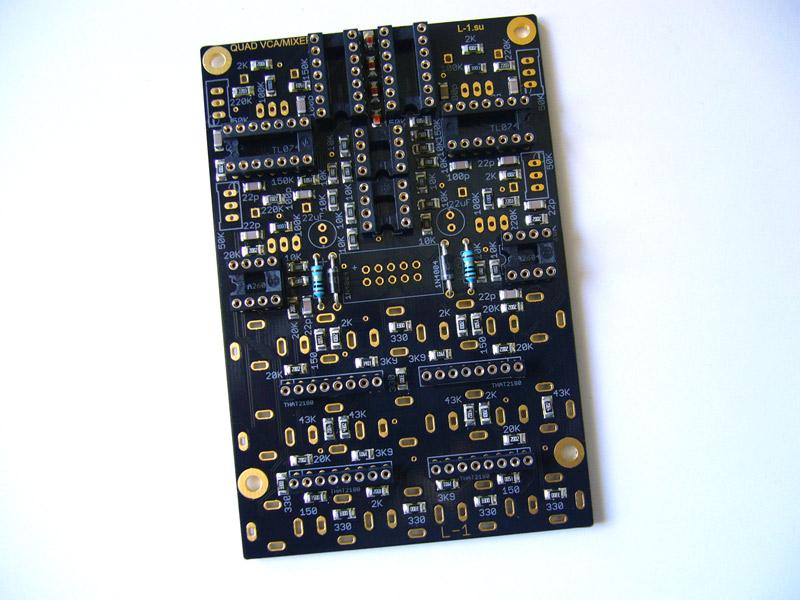
Quad VCA-Mixer THAT 2180 based. 14HP.
 |
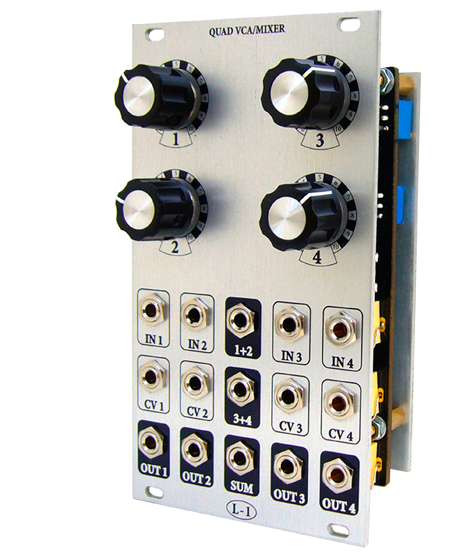 |
This is hi-quality Quad VCA-Mixer. I used maybe best available VCA chips THAT2180 and OPA2604 in audio chain, TL074 for CV.
- 4 identical VCAs and mixer to mix channels in pairs and all together, each channel has separate out too.
- VCAs feed both AC or DC sinnals.
- Responce curve is exponential but smoothed to avoid clicks from modulations. Modification for linear possible.
- CV inputs are normalized to 5V and attenuated by LEVEL pots.
- Power consumption: V+ 69mA, V- 60mA.
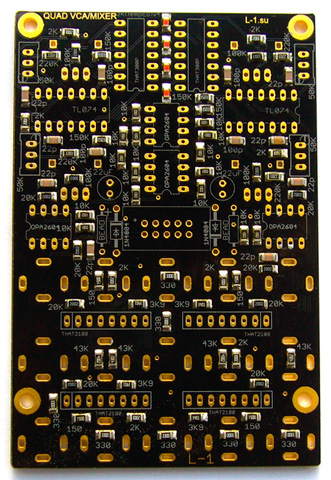
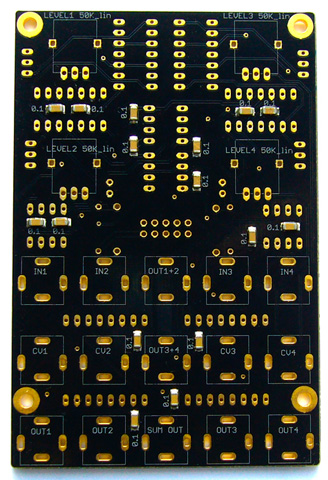
PCB - 2mm thickness, gold platted, black mask. $30
Two panels - 14HP front & back. Anodized alu, black print. $30
SMD parts + soldering. $15
4 tempco resistors $6
Shipping per set: $5 - only board, $8 - board+panels.
TOTAL for complete set with shipping: $89
Paypal: info(at)greenexpo.by
MUFFWIGGLER forum thread http://www.muffwiggler.com/forum/viewtopic.php?t=92654
Documents:
 Partslist.
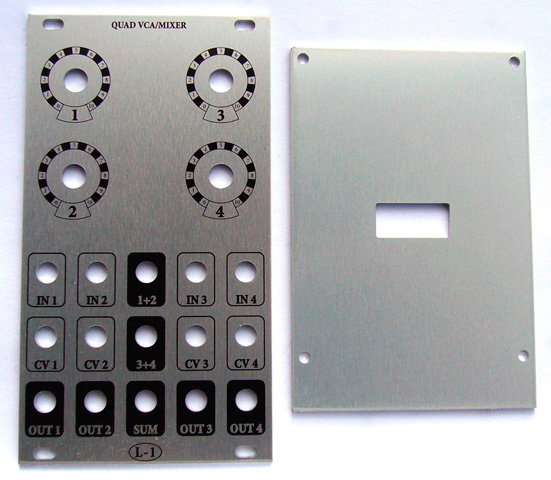
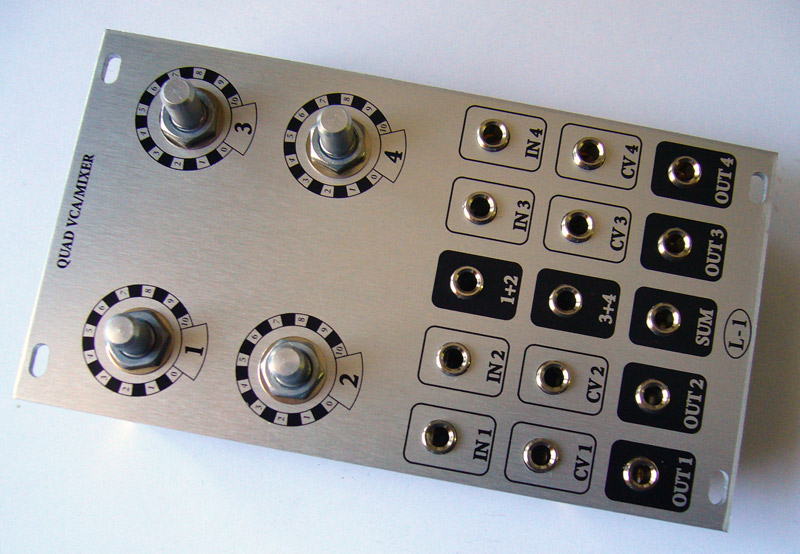
 Front panel.
You can choose what opamps to use in mixer OPA2604 (expensive) or TL072 (cheap):
MOUSER SHOPPING CART. (with OPA2604) MERCHANDISE TOTAL: $84.75 (USD)
MOUSER SHOPPING CART. (with TL072) MERCHANDISE TOTAL: $62.55 (USD)
Parts not included in Mouser shopping carts:
4 potentiometers
4 knobs
Where to buy?
1. Thonk:
pots: http://www.thonk.co.uk/shop/alpha-9mm-pots/
knobs: http://www.thonk.co.uk/shop/synth-pointer-knobs/
2. Smallbear:
pots: http://smallbear-electronics.mybigcommerce.com/alpha-single-gang-9mm-right-angle-pc-mount/
knobs: http://smallbear-electronics.mybigcommerce.com/synth-pointer-2-colors/
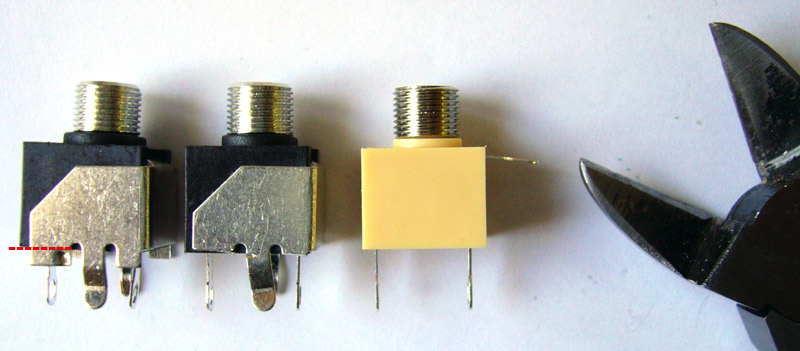
Jacks.
I included into Mouser shopping cart Kobiconn jacks. But they need to solder a leg for ground connection.
Better choise is Inline jacks:
1. Thonk: http://www.thonk.co.uk/shop/thonkiconn-3-5mm-jack-sockets-x50/
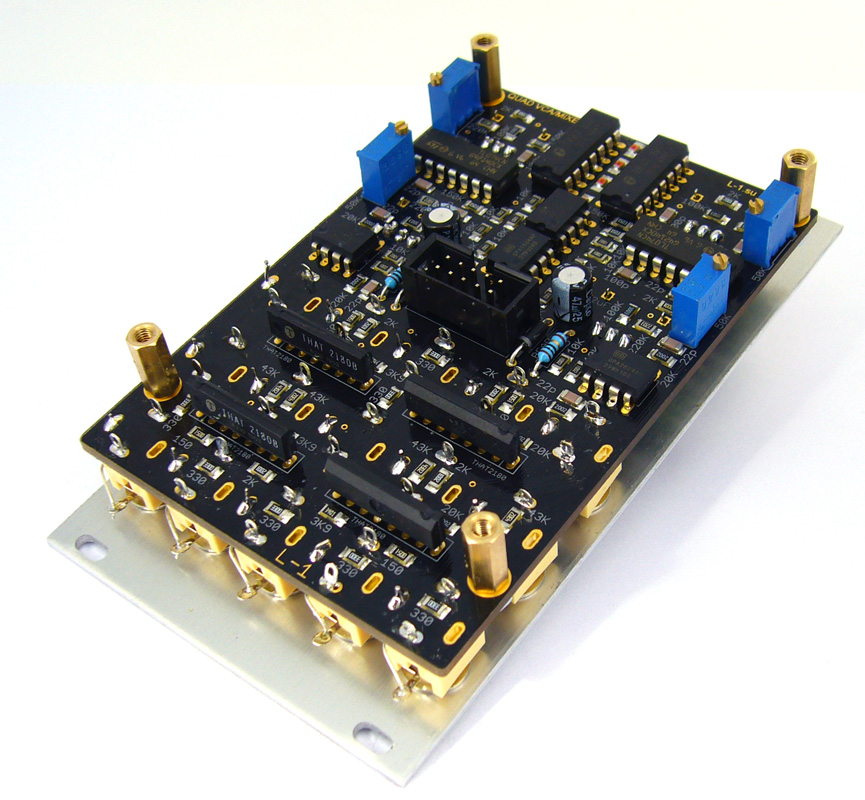
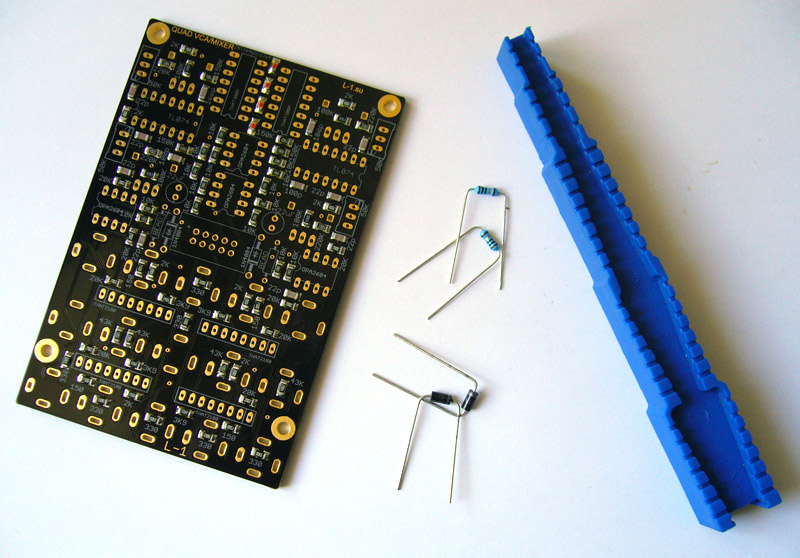
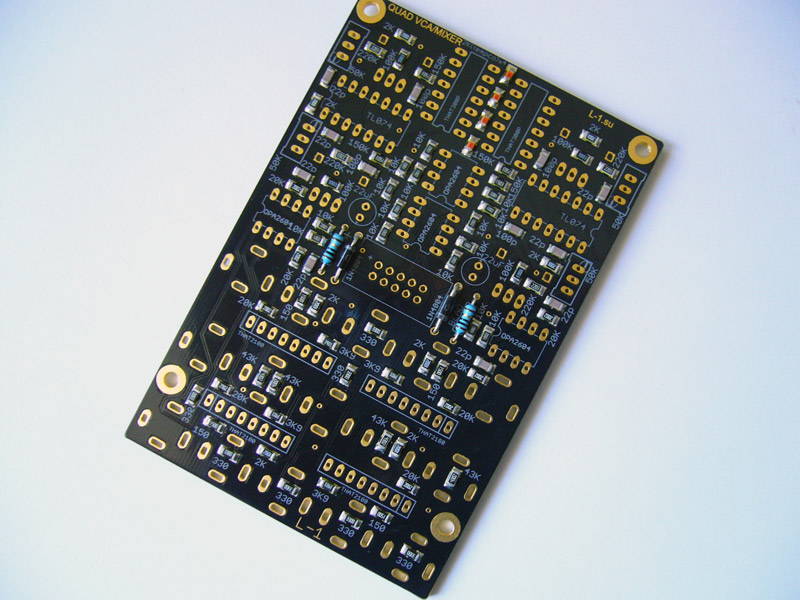
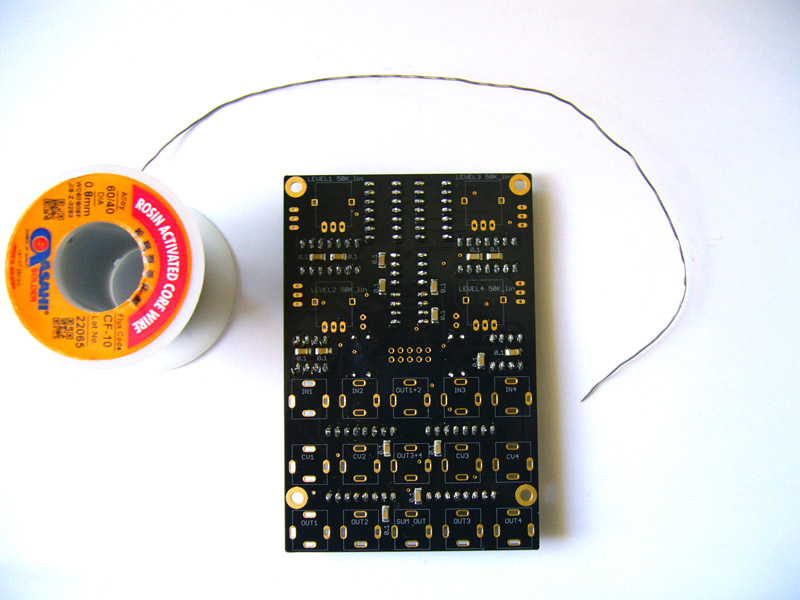
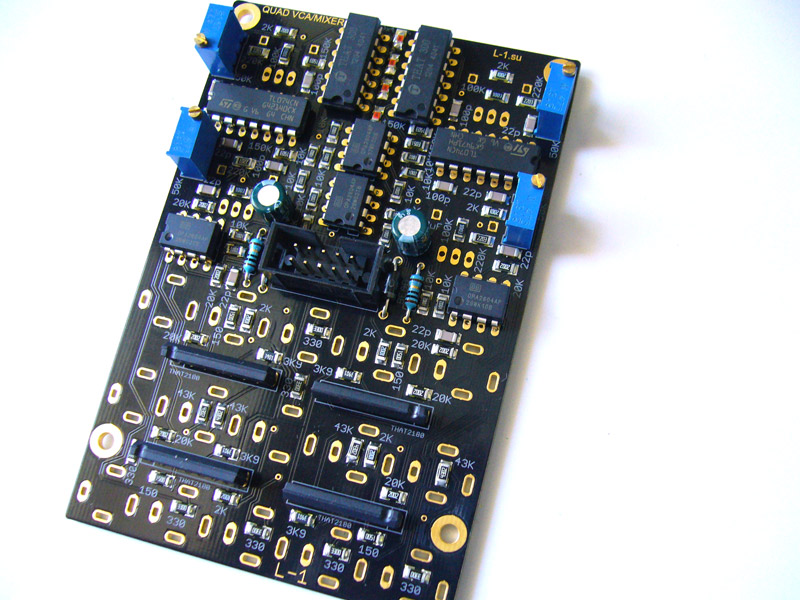
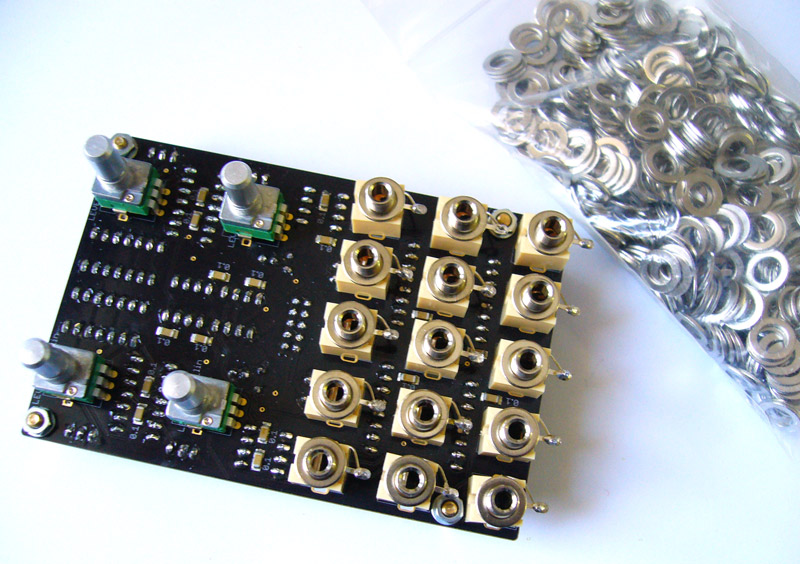
PCB with soldered SMDs:
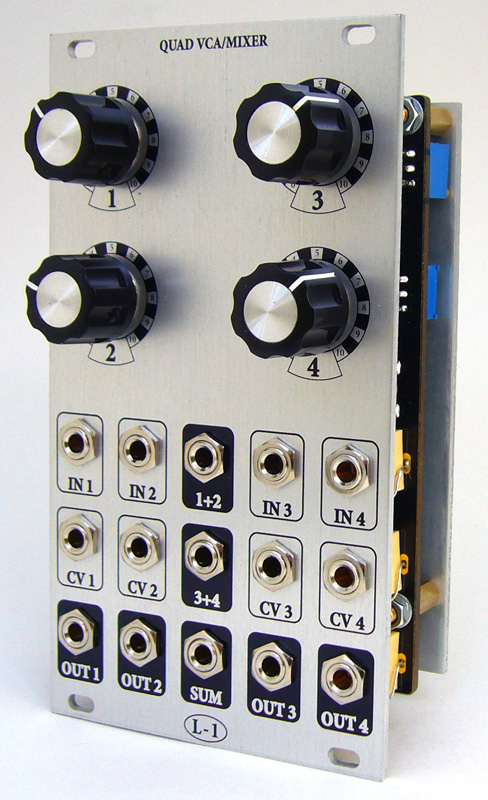
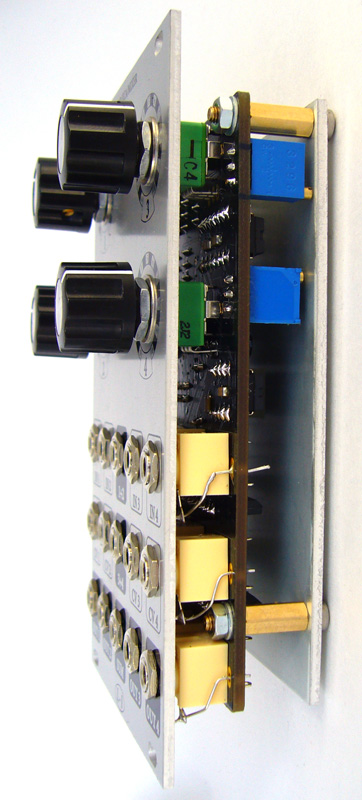
Panels:
Photos:
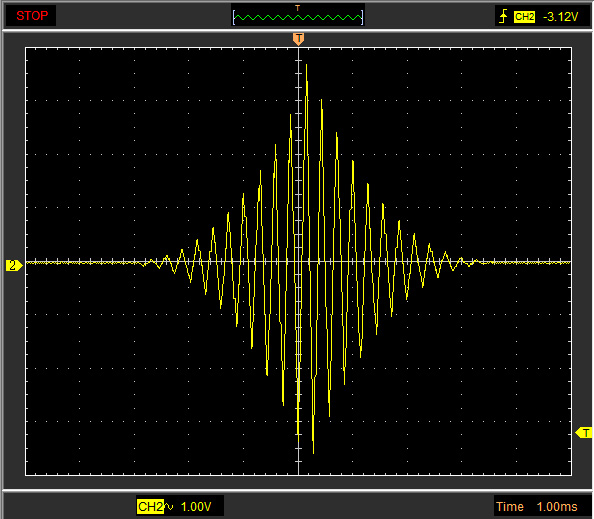
Scope shot: fast riangle modulated by slow triangle:
Assembling is pretty easy. Everyone can do it in a couple of hours. This guide will help you.
Great soldering tutorials from Dave Jones. Part 1 Part 2 Part 3
1. 10R resistors and diodes.
Bend legs.
Solder.
2. ICs and IC sockets.
I cut 16-pin socket in two for THAT2180. Be accurate, easy to broke.
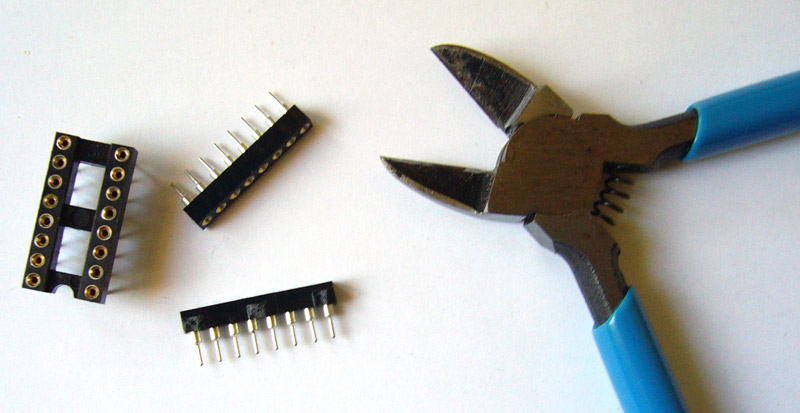
Straighten ICs legs.
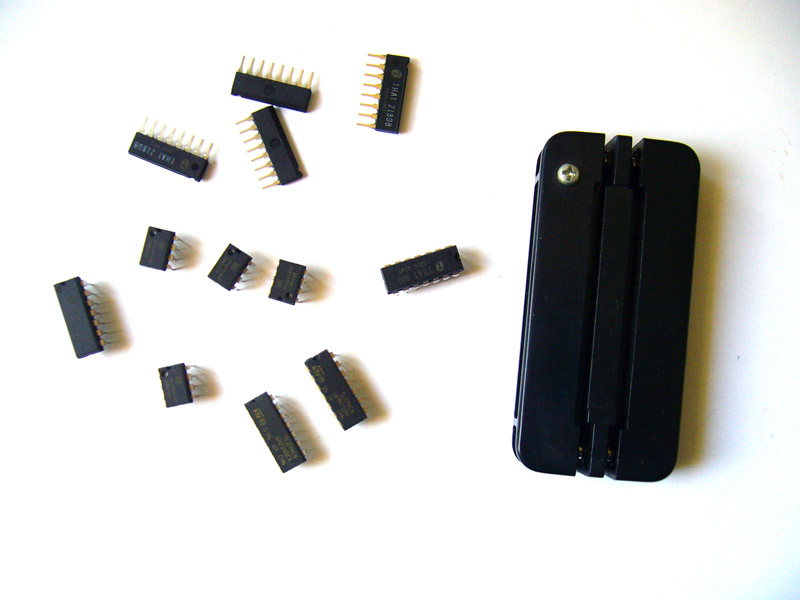
Place.
Solder.
3. Caps, power socket and trimpots.
Install power socket - slot at top.
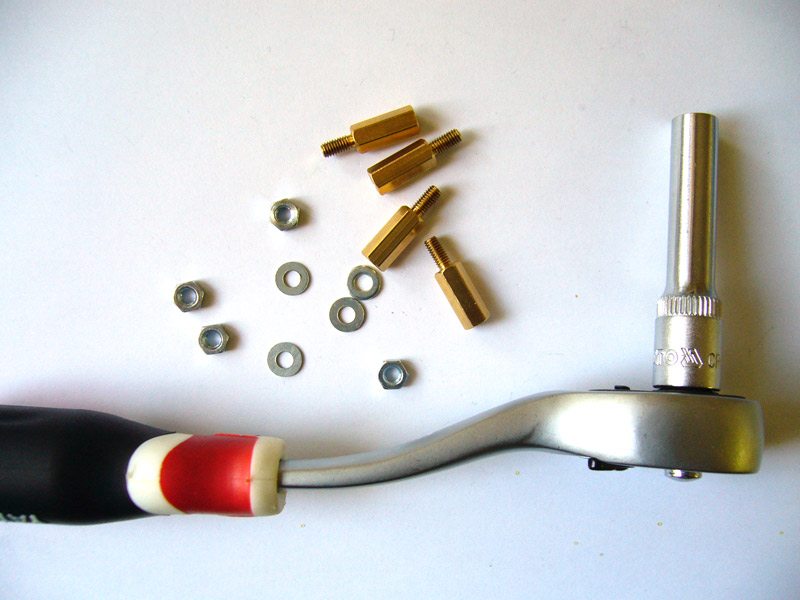
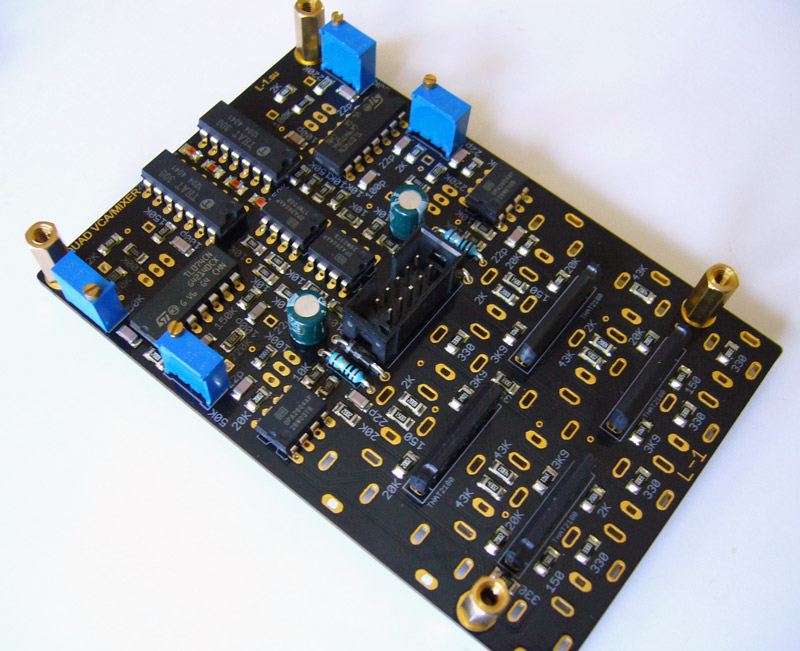
4. Mounting standoffs.
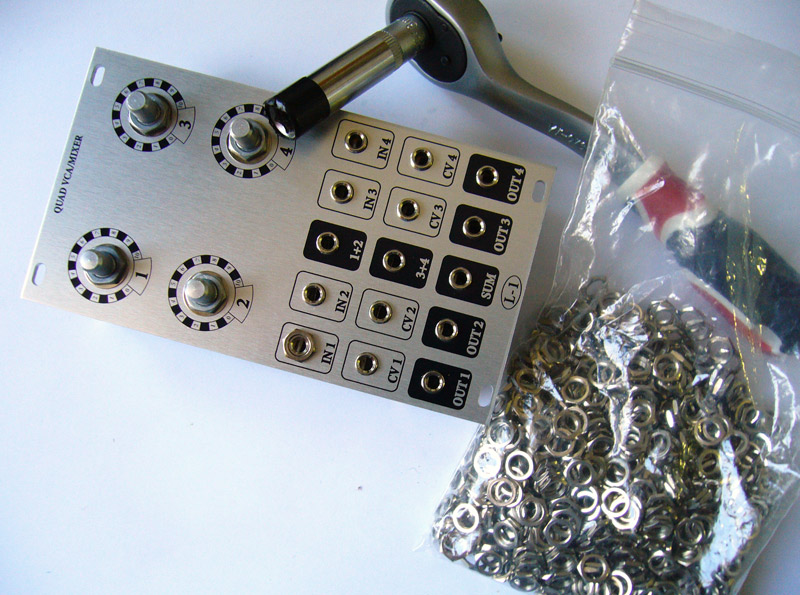
M3 nuts and washers are not in the partslist but I think every DIYer must have them.
Ready.
5. Prepairing panel hardware.
Two types of jacks fit to the board - Kobiconn and Erthenvar.
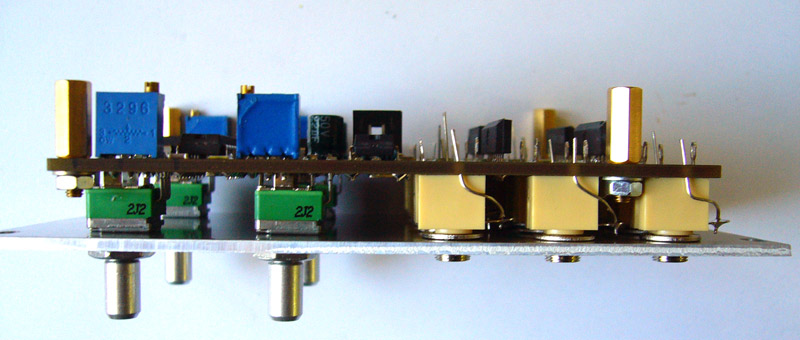
Erthenvar jacks are higher, cut them or place some washers on pots to achieve equal spacing between board and panel.
Remove knurled nuts.
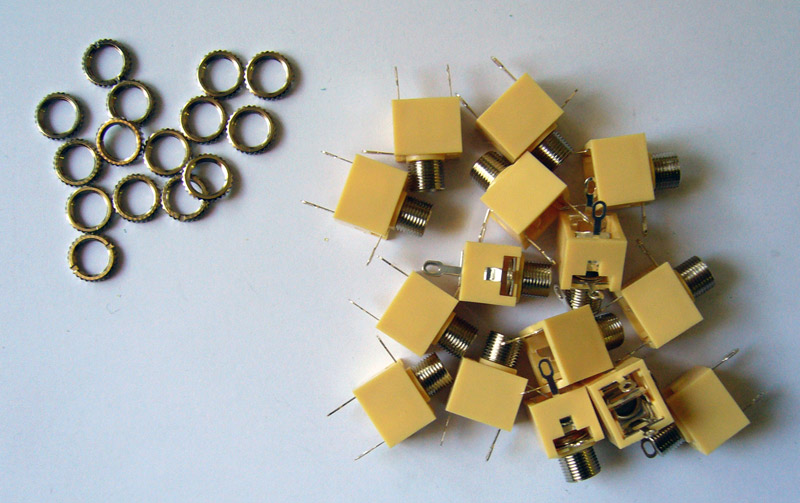
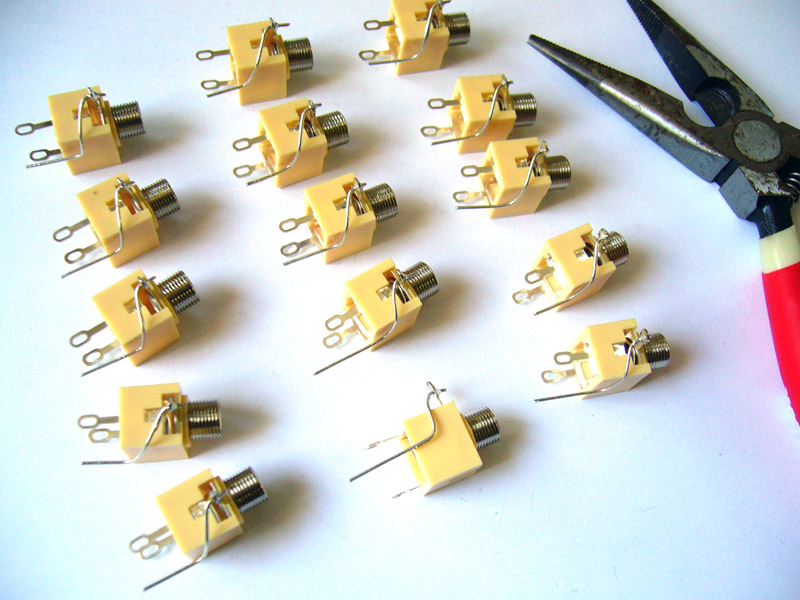
Kobiconn jacks need to solder ground legs. I use cutted resisters legs.
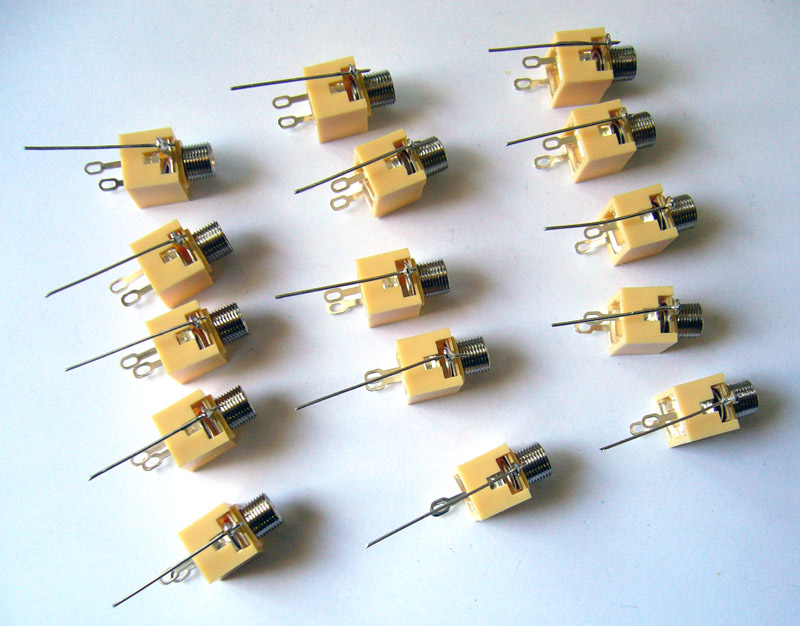
Bend them.
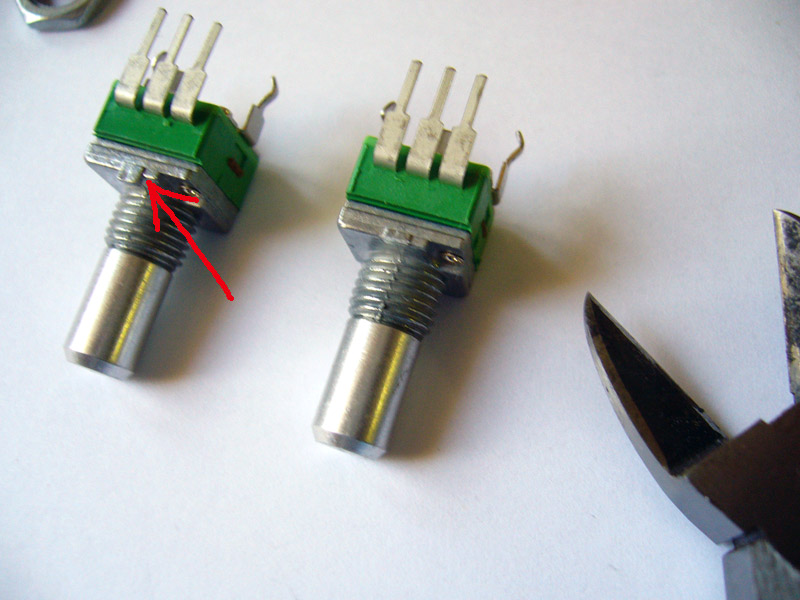
Cut these spikes on pots.
Straighten a bit these legs.

6. Mounting panel hardware.
Place pots and jacks but don't solder them. Place thin washers on kobiconn jacks to achieve 10mm between board and panel. I use washers from Erthenvar http://erthenvar.com/store/accessories/35mm/3.5mm-washers
Place panel and put a screws on pots but don't overtighten, just by hand.
Check everything is exactly precise, then solder.
Now tight a nuts, not strong just a bit. Pots have a washers, so screwdriver doesn't scratch a panel.
I use hex nuts from Erthenvar instead of knurled ones which come with Kobiconn jacks. They are nicer and easier for mounting. http://erthenvar.com/store/accessories/35mm/3.5mm-hex-nuts
Jacks haven't washers, so some protection is needed on a nutdriver, I use insulating tape.
Now the device is ready for first fire up and trimming.
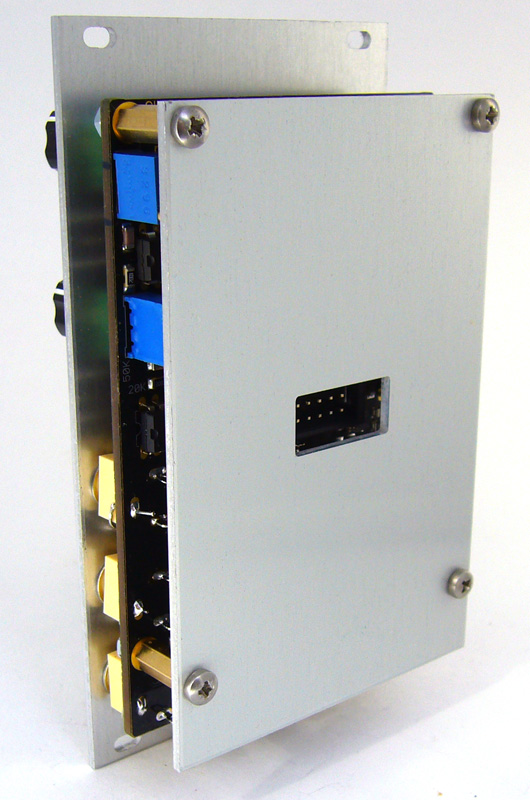
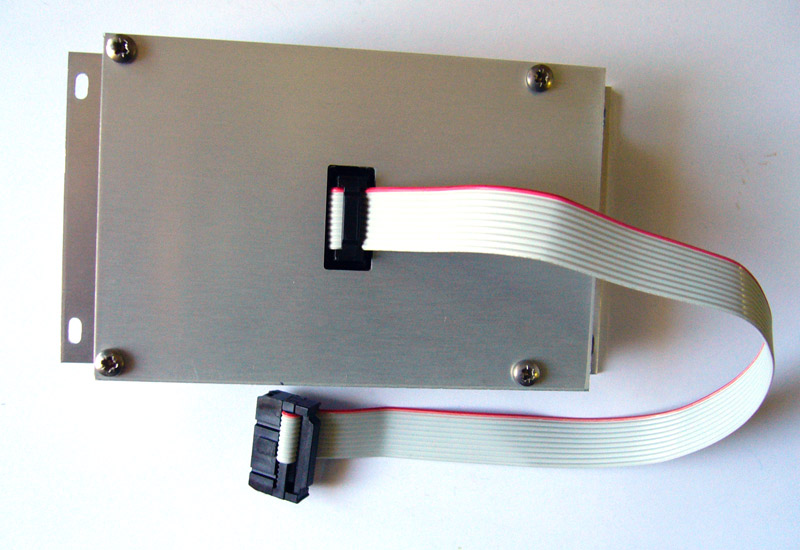
After trimming mount the backpanel. I use nice stainless steel screws. Power cable you can buy at Erthenvar http://erthenvar.com/store/accessories/power/ribbon-cable-10-to-16
The device is ready. Happy knobbing!
(c) L-1 Synhesizer. E-mail: info@greenexpo.by